Everything you need to know to repot a plant successfully
The time has come.
Roots are growing out of your plant’s pot’s drainage holes. Pushing up through the soil. You’ve noticed your plant's stopped growing. Maybe your pot seems to be expanding like something is trying to bust out from the inside.
These are the undeniable signs that your plant has outgrown its pot and its time to give it a new, slightly bigger home.
Re-potting can seem daunting for a number of reasons. For many plant owners, this could mean they will need to purchase their first bag of potting mix. Others will worry about transplant shock or if this is even the right season to be repotting their plant. Some plant owners will be wondering what size of pot they need to purchase to place their plants into.
Successfully re-potting your plant is possible- many have achieved this before you and many more will after you have. The key to a successful re-potting event is to understand the ins and outs before you loosen up that rootball. This article will cover everything you need to know to stick the repotting landing like a Gold Medalist in the Plantlympics.
When to Repot Your Plant(s)
The opening of this article went over some telltale signs that its time to repot your plant, but it was rather dramatic so allow me to wipe the stage makeup from my face and go over them again.
If you notice that roots are growing out of the drainage holes of your plant’s pot, it’s a pretty good sign that there’s just not enough room for them in there anymore. Sometimes you will also notice roots pushing up through the soil searching for more room, and this can be another sign it’s time to size up.
It should be noted that some plants like Ficus and Philodendron plants have aerial roots that are always growing up through the soil. Don’t worry if you see these, they are completely normal and not a sign to repot.
Another sign your plant needs a new home is that it's become slow growing. If the roots are compacted because they don’t have enough room, then they obviously can’t do their jobs properly and help your plant grow. Also look out for top-heavy plants that are easily knocked over and quick drying soil that can’t hold water as it used to as more telltale signs to repot.
Another good mention here is time. Most plants don’t need to be repotted more than once every 12-18 months, so keep an eye on when you bought your plant or last repotted it. Some plants like Snake plants can and should go even longer between repots, only needing new pots every 3-7 years.
Choosing the Right Pot Size
If you read nothing else of this article, please read this section! Not paying attention to the size of the pot you repot your plant into can severely put your plant at risk of root rot.
When you repot your plants, make sure to repot them into pots that are only 1-2 sizes up in diameter from the pot they’re in now. I repeat through my megaphone:
When you repot your plants, make sure to repot them into pots that are only 1-2 sizes up in diameter from the pot they’re in now.
So if you are repotting a plant that has outgrown it’s 6” pot, you would ideally repot it into a 7” pot. You can repot it in an 8” pot, but anything larger than 8” can adversely affect your plant. How? Allow me to explain.
If you did repot your plant that was in a 6” pot to a 10” pot, then you would need to use more soil in order to fill out your new 10” pot. The pot is wider and taller than what your plant needs, meaning you are going to have excess soil just sort of hanging around. When you water this soil, it means there will be excess water hanging around in all that excess soil.
This will cause your plant’s root system to hang around in the extra moisture as well and this can lead to root rot over time. This is why it is so important to only repot your plants into pots that are 1-2 sizes larger than the one they are in now. Save that 10” planter for another year, and save your plant!
Potting Mixes
Now that I’ve gotten off of my proper pot size soap box, let’s get into another possibly confusing factor of repotting: choosing the right potting mix.
This doesn’t need to be a difficult step of the process, even if you’ve never purchased potting mix before. You can check out your plant's ideal soil type on your plant’s species page here on Canopi. It will break down the type of potting soil that you want to use, as well as any amendments that you should use to improve drainage or retain moisture.
Transplant Shock
Another concern when repotting your plant can be the dreaded transplant shock. Transplant shock is the process of your plant adapting to its new surroundings, and can happen at many points in its life. When you get your plant in the mail, bring it home from the store, put it in a new area of your home, or give it a new pot, then it can take some time for your plant to get used to this change in environment.
There are some things that help in minimizing transplant shock when repotting your plant. The first thing to do is to make sure that you are repotting at the right time of year. Most plants will do best if they are repotted in the springtime before their growing season really kicks off. It’s usually heavily discouraged to repot your plant in fall or winter, as your plant is already dormant and normally already trying to cope with a change in temperature and humidity.
Remember to be gentle with your plant as you repot it, always repot during the day, and give your plant a drink of water after placing it into its new pot. These will also help make the transition easier for your plant. Make sure to only repot healthy plants. If you notice that your plant is struggling in any way, hold off on repotting until after the problem has been solved.
Put That Plant in Its New Pot!
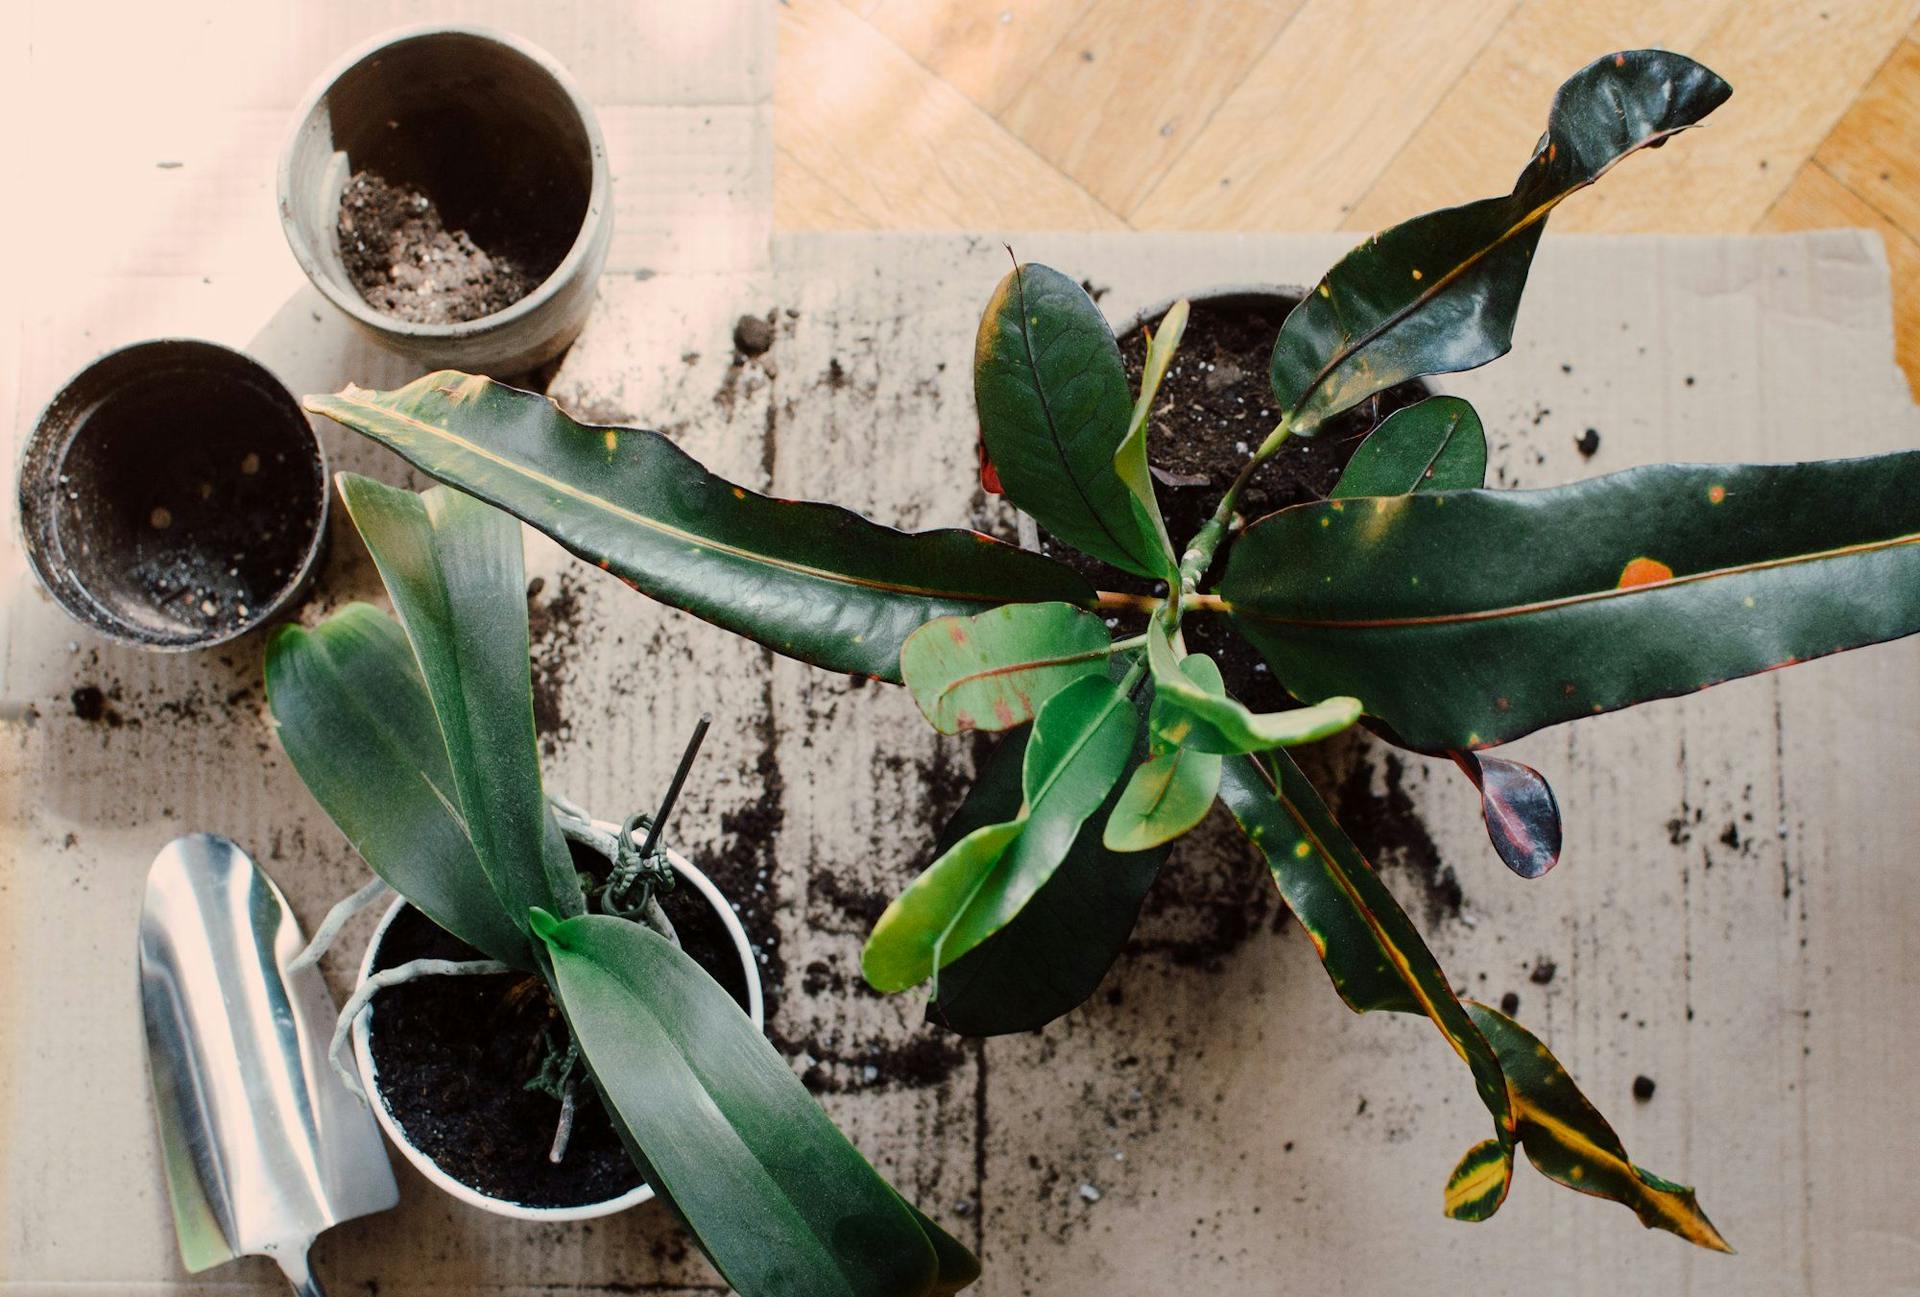
Now that we’ve gone over some basic components of repotting, it's time to talk about the act itself. If you’re repotting your plants inside, then you will probably want to lay something down like the Plant Caring Mat ($) from Generosa. This mat made of the second-life canvas will help you keep your floor and surroundings clean while you give your plant a new home.
Take your brand new potting mix and fill your new pot about a third of the way full. Next, remove your plant from its current pot and begin separating its roots from the surrounding soil. Take your fingers and use them to gently massage your plant’s root ball before placing it in the new pot. You can use your hands or an implement like the Wood Scoop ($) from Bali Harvest to fill the rest of your pot with your new potting mix.
After filling your pot, give your plant water and then allow it to completely drain before placing it on its tray or in its decorative pot.
Et voila! You’ve just successfully repotted your plant. Pat yourself on the back, but maybe wash your hands first.
As you can see, repotting your plant can be easy and worry- as long as you know some basic do’s and don’ts. So go forth armed with the information you learned in this article and repot with confidence!